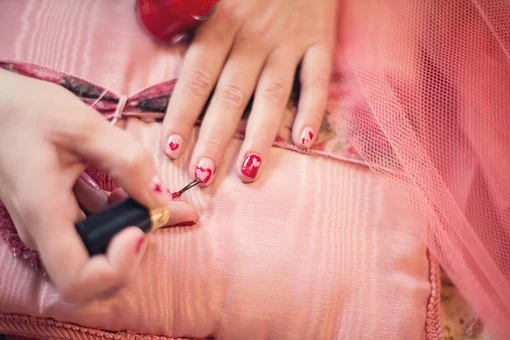
There is something about having your nails done properly that makes you feel as if you have your whole life put together. Now, you might not have the time to visit a nail salon every time you feel like a new manicure. The excellent news is that you do not need to. With the poly gel formula, you can have your nails done at home with ease.
What Is a Poly Gel Formula?
A poly gel is a hybrid formula made for nail technicians that offers the best of both worlds by formulating something that has the best qualities of acrylics and gel nails. It is a nail enhancement kit that can give you a beautiful set of nails every time. It is an all-in-one formula that needs no mixing, monomers, or ratios. And here are the simple steps for you to use the poly gel at home.
Step 1: Preparing Your Nails for The Poly Gel
The first step to applying the poly gel is the same as your usual manicure. You will have to prep your nails by ensuring that they do not have any nail polish on, and then file and buffer the nails so that there is no shine on them. You can begin by pushing the cuticles back and cutting as much as needed. Also, make sure not to cut too much of the cuticles because you will start bleeding due to that.
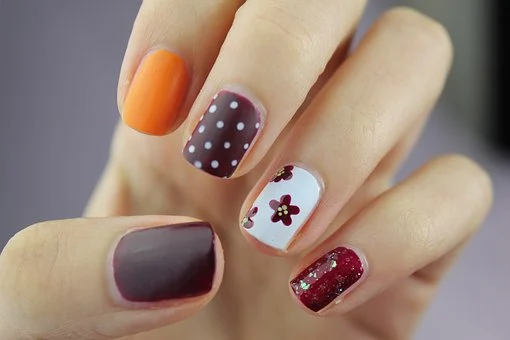
Step 2: Clean Your Nails to Get Rid of Any Residue
After filing the nails and cutting the cuticle, you need to wash your hands with gentle soap and water and wait for the nails to dry down completely. You can also choose to use rubbing alcohol over your nails to eliminate any residue or oil on the nail surface.
Step 3: Applying the Poly Gel To Your Nails
Take out your polygel kit and apply the formula to the nails using a precise, small brush. It will be put at the center of the nails, beginning with a small ball or bead as you have seen is using acrylic. You do not need to be precise at this step and only put the formula over the nails.
In case the gel is not coming out smoothly or is hard to push out, you can run the bottle under warm water for a few seconds. It will loosen the gel a bit and help it to come out easily.
Step 4: Smoothen Out the Poly Gel Formula
Use a brush and moisten that with a unique solution created especially for applying the poly gel. You will now need to smoothen out the product such that it covers the entire nail, shaping it the way you want. You can use the gel to create any nail shape, be it almond, square, or coffin shapes. Minor imperfections left while filling your nails can get covered at this stage.
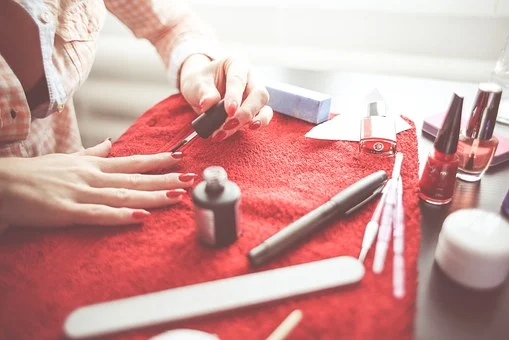
Step 5: Cure Your Nails to Get the Style You Want
After you have the poly gel on your nails, you need to place the nails under a UV lamp or an LED light for at least thirty to forty seconds. Based on the style you are aiming for, you can choose to go over the previous two steps and apply another color to the nails. You might want to do a French manicure and do white tips on your nails.
Step 6: Filing and Shaping Your Nails to Perfection
A great thing about poly gel is that it is softer than the usual nail formulations. So, you will not have to use any kind of e-file for shaping it. Simple hand files will get your nails done and smoothen out any uneven areas or bumps. It will also help you in defining the shape that you want to have.
Step 7: The Final Step of Applying the Finish
You might want a matte or shiny finish. For that, you will need to put a top coat for sealing in the poly gel and put your preferred finish on top of that. Now, turn your nail around and put an even layer of poly gel on the back of your nails. But before applying the topcoat, remember to brush off any extra gel on your nails using a dual-sided brush.
Step 8: Put the Nails under a Nail Lamp to Cure
One more time, you will have to put your nails under a nail lamp to cure them. It will help if you invest in a good nail lamp since you will need it for all your DIY poly gel sessions. Unlike the usual gel nail polish, the poly gel will not leave a tacky layer behind on the nails. So, after you cure your nails, you are good to go.
Step 9: Put Cuticle Lotion or Oil over Your Nails
A good manicure is never complete until you moisturize your cuticles and hands. You will have to apply cuticle oil at the base of your nails and give yourself a nice hand massage using the lotion.
The Endnote
And that’s it; your beautifully manicured nails are ready to flaunt. You will find it so easy to do your nails at home from now on that you will not even want to go to a nail technician ever again. Follow this tutorial step by step and let your nails do all the talking.


