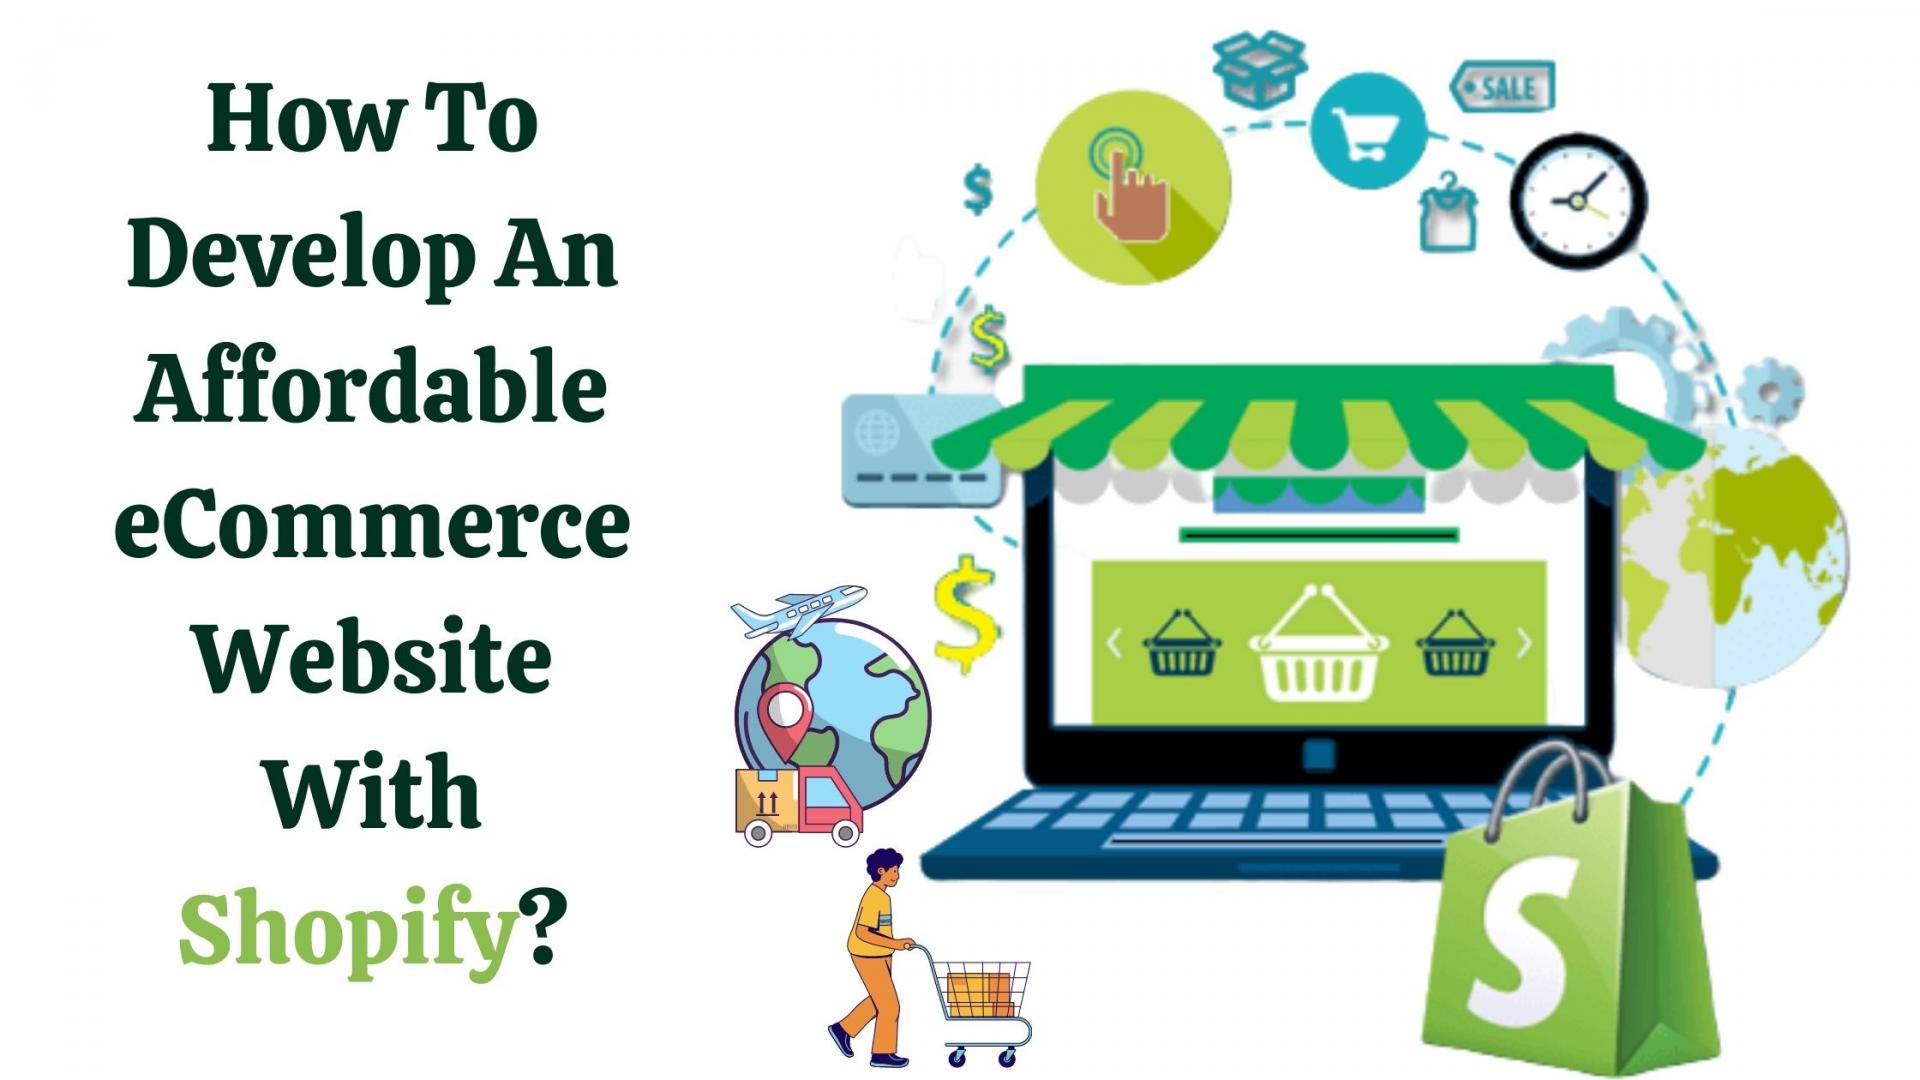
Developing a website, especially an eCommerce website, seems very difficult at first glance. Indeed, if you are not a technical person, this could be a huge challenge. However, there is a smarter way to develop websites today. You can take advantage of the Shopify development service to create a top-notch eCommerce website for your business. As a matter of fact, you can set up an eCommerce store within a few clicks on Shopify.
Choosing Shopify eCommerce development provides several benefits. Whether you are a newbie or tech-savvy, using this eCommerce platform is never a hassle. Further, Shopify offers different plans that you can choose according to your budget. Hence, you can hire an affordable shopify eCommerce web Development Company that comes with tons of benefits.
What is the Shopify eCommerce platform, and how does it work?
Although Shopify stands as one of the most sought-after eCommerce platforms, many are still unaware of what it is and what it does. In simple terms, Shopify is a SaaS (Software-as-a-Service) platform that anyone can use to build feature-rich eCommerce stores. That means it is a cloud-based software that you can use by subscribing to the service. Further, the software comes with a complete setup for creating a website, managing it, and maintaining it.
Shopify allows merchants and business owners to create eCommerce websites easily and use the in-built shopping cart solution for selling digital and physical products to customers globally. Also, it offers a system that enables users to manage inventory tracking, shipping requirements, and more. Further, it provides an excellent admin panel from where users can perform various operations like process orders, write descriptions, see products for sale, and more.
Salient features of Shopify eCommerce platform
The following are the key features of Shopify that illuminate the advantages of choosing Shopify web development.
- Easy to set up.
- Customizable websites or online stores and blogs.
- Easy to manage
- It supports all types of popular payment gateways.
- Award-winning customer support available 24/7.
- Unlimited bandwidth, secure customer data, product inventory.
- It allows selling on new sales channels, including Pinterest and Amazon.
- Automate processes with the use of third-party Shopify apps.
- Best SEO and marketing tools.
- Best-in-class security.
- Fast-loading web pages.
Step by step process to create Shopify eCommerce store within a few minutes
There is no surprise that Shopify development services have become popular because of the greatness of the Shopify platform. In earlier times, developing an eCommerce website used to take a long time of weeks and even months. However, the advent of platforms like Shopify changed that scenario for good. Today, it takes only a few minutes to set up a decent eCommerce store for a business.
Besides the issue of time, technical expertise was another major constraint that made web development so tricky. Indeed, only professional developers could create the website a business needed. Shopify eliminated technological barriers and gave simple ways to develop full-fledged eCommerce solutions. Ain’t you a tech-savvy person? No worry, Shopify is for you to build the right eCommerce store without even touching a single line of code.
Moreover, if you are willing to create a very advanced and custom eCommerce site, you will need help from a professional developer. You can hire the best Shopify developer to create a custom eCommerce website according to your specific requirements.
Let’s see the steps to create an eCommerce website with Shopify.
Step 1: Sign up
Go to the Shopify website to sign up. Provide your email, set a password, and choose a name for your eCommerce store. You need to choose a unique name for your store, else Shopify won’t let you buy a domain. On the next page, you have to specify how much you want to sell. After completing this page, click on the ‘Enter My Store’ button. Now you will be asked to choose between Brick-and-mortar store and Online Store, select Store Online. Click on Next, then provide details like phone number, name, address, etc.
Step 2: Add a product
As soon as you finish the signup process correctly, the admin panel page will load on your screen. Now from here, you can manage and configure your new online store. You will be customizing your store and adding your products from this section. Click on the Add Product button to get started. On the product page, you need to fill in the details such as description, title, price, vendor, and more regarding your product. After finishing product details, save the product at the end.
When creating the product page, you should remember that images play a crucial role in presenting your product. So, use images that are of high quality and appeal to your target audience. Don’t undermine the importance of your website’s look. You can rely on a developer if you think you need improved Shopify development.
Step 3: Customize your store
When you create a Shopify store for the first time, it will come with a default appearance. But this existing look might not best suit your brand, or you need some overhauling to get a unique appearance. Consequently, you need to customize your eCommerce store to give it a more attractive look and feel. To customize your store, first, navigate the admin dashboard and then click on the “Customize the Look of Your Site” button.
When you reach a new page where you can customize everything from logos to colors. Although you can tamper with any setting here, usually, you would like to change the complete website theme. For this, click on the Visit the Theme Store” link. You are now in the Shopify marketplace, where you can choose any theme and apply it to your site. Many of these themes are free, and many are paid.
If you are looking for more sharp customization and want a completely unique theme, then you will need to hire Shopify developer for this. The developer has expertise in this eCommerce platform and can help you build a robust and distinct theme with his skills.
Step 4: Set up a domain
After choosing the right website theme/template for your website, the next step is to select a domain to make your site live. Move to the dashboard again, then click the option that says “Add a Domain.” Now choose between registering a new domain or transferring an existing one. Depending on your need, you can click on the appropriate option to set up your domain name. Either you can buy a domain from Shopify or buy elsewhere and connect with Shopify, it’s your choice, but DNS records have to be updated if you purchased a domain elsewhere. You can seek experts’ help to accomplish this process.
When you are in the main area of your site, ensure that the following details are complete:
- General: In the settings area, all the details should be filled, including the legal details and billing information.
- Shipping: Click on the “requires shipping” option, which you can find next to products that will enable you to know which products need an extra price because of packing and postage.
- Taxes: To help with your accounting, you need to make sure that you’ve clicked the box just after the “charge taxes” option in the Variants section.
Step 5: Activate a payment processor
Click on the Payments tab on the dashboard. Now the area that appears lets you choose from dozens of different payment gateways like Authorize.net and Stripe. Moreover, you can also use Shopify’s built-in payment gateway, which is very easy to implement. Walkthrough the payment processor activation process to activate the payment gateway and put the payments in an account. The choice of a perfect payment gateway for you might depend on several factors such as:
- Card types: If you want to allow your customers to make payments from multiple cards, then you will prefer a payment gateway that accepts different types of cards for payment.
- Transaction fees: Most payment gateways charge a small fee at the time when customers make transactions. You can choose a payment processor that charges the smallest amount to ensure an affordable eCommerce solution.
- Offsite checkout: Some payment gateways may perform the payment processing away from your website that is more secure now and a bit of a pain for customers.
All doing all these things finally, you need to click on the Launch Website button to make the website live.
Closing thoughts
Online business has brought about many changes in retailers’ lives by delivering services more efficiently and profoundly. As a result, eCommerce businesses are flourishing in every part of the world. Shopify has brought it to new heights with its simple way to create a full-fledged eCommerce store. If you consider making an eCommerce store to sell products online, then Shopify is probably the best choice to start off.
You can find the best Shopify development company to create a unique and well-customized website for businesses to get an edge over competitors. There are a lot of options that this eCommerce platform gives you to set up your online store. You need to find the right way that best fits your business requirements.
Summary
Keeping a clean home is not as difficult as most of us think it is. If we simply commit to regularly cleaning our homes, and organizing our belongings properly, anyone can have a picture perfect home. Neglecting to tidying up your home only makes it more difficult to clean it when you do, so regular short bursts of cleaning are more efficient in the long run.
Also, if you’re looking for house cleaning in Denver, you can discover here the best House Cleaning Services in Denver, CO.
Author Bio
Emily White is a proficient Shopify developer who has been working for years at CSSChopper, which is a top-rated web development company. Emily is an experienced eCommerce developer, and she also likes writing. She writes blogs and articles in her free time for her audience.


