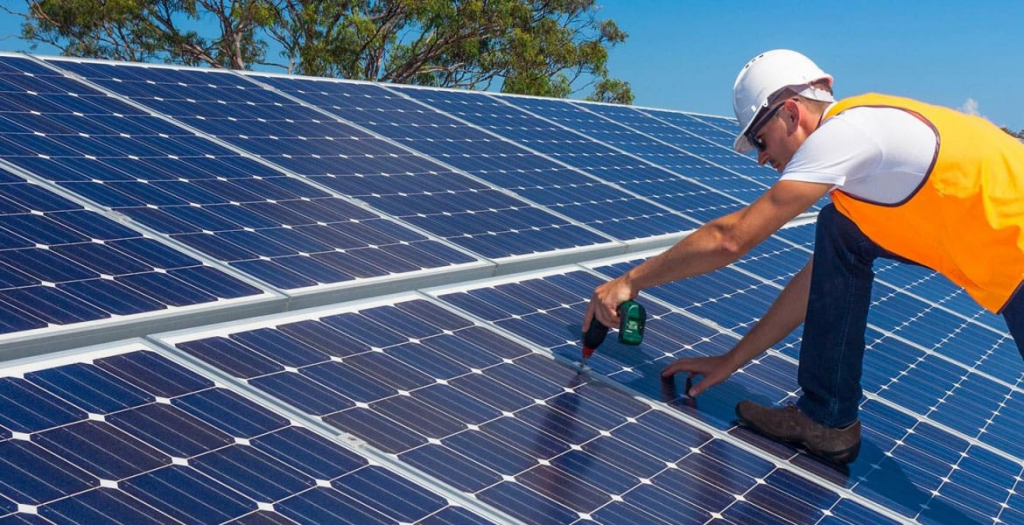
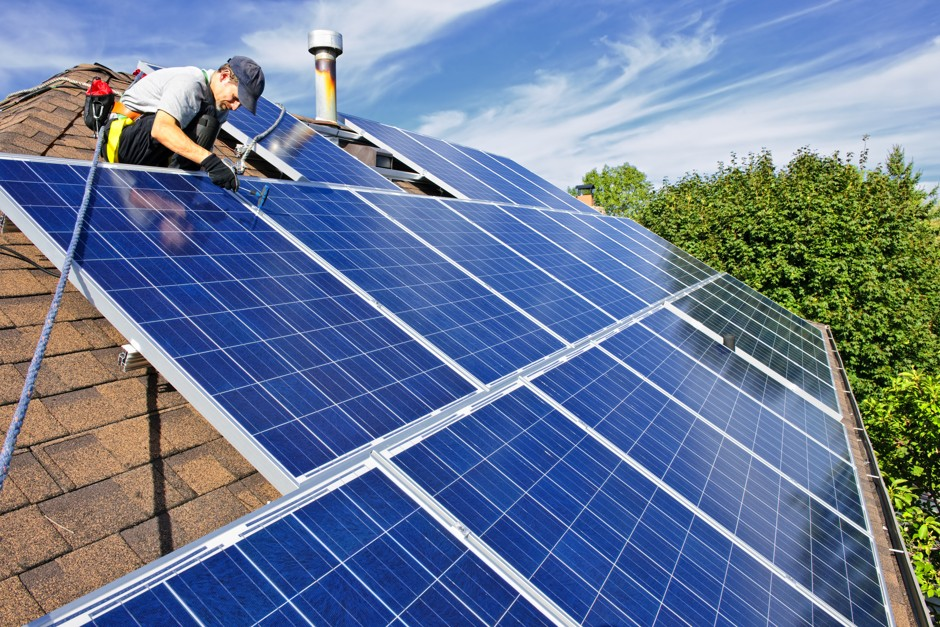
If you are planning to switch to solar energy, there are several steps to follow. Solar installations involve the use of panels and equipment with hundreds of volts of sunlight energy.
This means maximum precaution must be taken during the procedure. Often, permits are needed, and certain electrical standards must be met.
Nevertheless, the advancement of solar technology over the years has made the process much easier and more manageable. Here are a few basic procedures for California solar panel installation you should know.
- Site survey
By now you have already hired a good solar installation company to help you get the job done. The company will send someone to conduct a site survey in your home to evaluate whether your present electrical system can accommodate the solar panel system you intend to install.
In case your current electrical system is old or obsolete; you may be asked to replace it or upgrade it.
Additionally, the contractor will also examine your roof to ensure it is structurally compatible to support the weight of the solar panel. The engineer will tell you if you need a specific mounting design or not based on the type of your roof.
- Examine your home’s energy efficacy
Homeowners are required to investigate their power usage before considering any upgrades. Get to know your total electrical consumption and find out ways you can reduce your electrical use before opting for solar.
You can choose to switch to energy-saving light bulbs to minimize consumption, use highly efficient electronics or insulate your home to minimize the amount of electricity used in heating or cooling your home. Above all, consider a home energy audit to help you identify where your home is using more energy.
- Secure permits
Every state has its rules and regulations on solar installation. As such, it’s important to acquire the right documentation and permits to ensure you are on the right side of the law. In addition, make sure you meet all the local zoning and safety requirements.
The good news is that the majority of the paperwork is done by your solar company. All you need to do is to sign the documents and that’s it.
Some of the permits required include an Interconnection agreement with your local utility, Local electrical and/or building permits, and applications for federal or state incentive programs.
- Assess your solar potential
You should know that not every area is viable for solar installation. Some areas have lots of shade, others have little shade while others have lots of sunlight.
The amount of power generated depends on the size of the system and the intensity of the sun’s energy in the area. There are tools and mapping services you can use to help you determine your solar potential.
Some offer extra services like estimated costs and savings, information on the available local contractors, estimated system size, and more. Read here for more https://www.storey.com/article/test-home-solar-power-potential/

- Estimate your solar electricity needs
Once you have identified your home’s energy efficacy it becomes easier to estimate your power needs. Considering that identifying the right system for your home can be challenging, such estimates are useful in determining the exact system type and size for your home’s electrical use.
- Get correct equipment
Once everything is evaluated, including the condition of your home and you have acquired all the required permits, it’s time to order your equipment. By this time, you already know the type of solar panel to purchase.
Typically, these decisions are made before any contract is signed. Once you have set your solar goal it becomes easier to choose the right system for your home. Your budget may also impact your choices.
Whether you want the most affordable option or the most efficient, do your research and get to know how they work.
- Install your solar panel
This is one of the most crucial steps. The installer is expected to show up and begin the installation process. The first step is to verify whether the roof shingles and tiles are secure enough to avoid any future damage.
Afterward, the wiring is done, and racking is placed to secure the solar panels. The batteries and the battery bank are also set in place together with the inverter.
You might be wondering how long it takes to complete the installation process. Typically, it takes one to three days, but it also depends on the size of your home.
- system approval and connection
Before the system is turned on, the municipal government must issue a PTO (permission to operate). Basically, a representative from the municipal government is sent to inspect and approve the safety of your solar system before it becomes operational.
Also, expect your local utility company to visit your home and interconnect the system with the present electrical grid. As such, you will still continue drawing electricity when need be. Click here to learn more.
Conclusion
The benefits of switching to solar power are vast including reduced electric bills, diverse applications, and low maintenance costs among others. It is also pollution-free and therefore very friendly to the environment. Generally, the installation process determines the success, efficiency, effectiveness, and reliability of the solar project. This is why you need to work with professionals. Look for a reputable company to help you get the job done and make sure you research how it is done. Solar panels are huge investments that require extensive knowledge of solar engineering, design, and technology.


![TamilMV Proxy List Top 30+ [Unblock TamilMV Sites] TamilMV Proxy Unblock](https://technewsgather.com/wp-content/uploads/2023/04/17825836_SL-121019-25870-14-1-100x70.jpg)