

MacOS has different inbuilt utilities to check storage space on Mac. This is one of the major concerns you may face while using a Mac. You will need to frequently free up space on Mac with manual tricks. Storage space is a major concern if you are using a low-end configuration with a storage space of 256 GB or 512 GB. If you do not clean the space regularly, you may face performance issues or lag in responses. Try these quick tips and tricks on how to check the storage on Mac and how to optimize it.
How to Check Storage Space on Mac
To check the storage space on your Mac, you can follow these simple steps.
Step 1. Click on the Apple menu in the top-left corner of the screen.
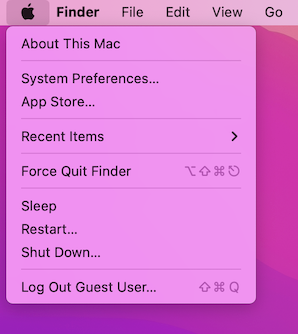
Step 2. Click on ‘About this Mac’ from the drop-down menu.
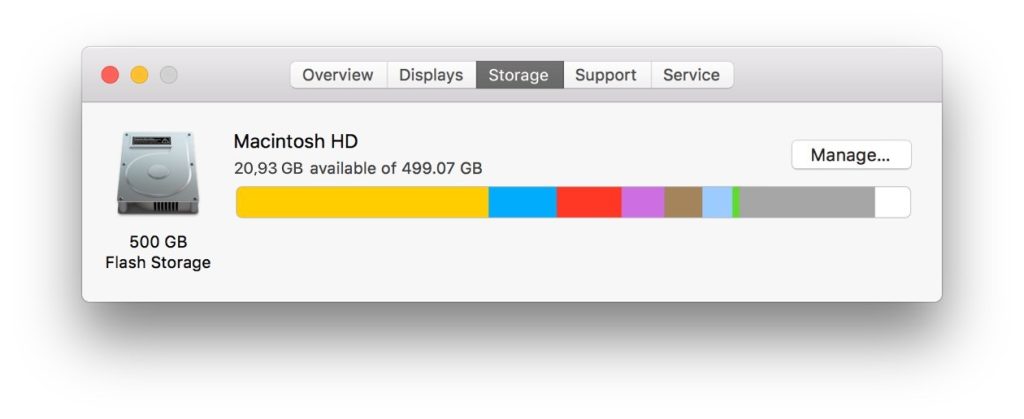
Step 3. On the “About This Mac” window, click on the “Storage” tab.

Step 4. It will show you the total hard drive space and a colorful representation of the space used. You will find different categories like documents, photos, music, and videos.
Alternatively, you can also reach here by clicking on the “Finder” app on the Dock and then selecting the “Applications” option from the sidebar. Go to the “Utilities” folder in the “Applications” folder and double-click on the “System Information.”
How to Manage Storage Space on Mac
Follow the above steps to check storage space on Mac and reach the Storage window. Now you can follow these steps to clear off some space.
Step 1. Click on the “Storage” tab, and click on the “Manage…” button. It will open the “Storage Management” window.
Step 2. The Storage Management window gives you different options to free up storage space on Mac.
Step 3. Click on the Optimize Storage button to automatically remove TV shows and movies you’ve already watched. It will also keep just the recent email attachments on your Mac and remove others.
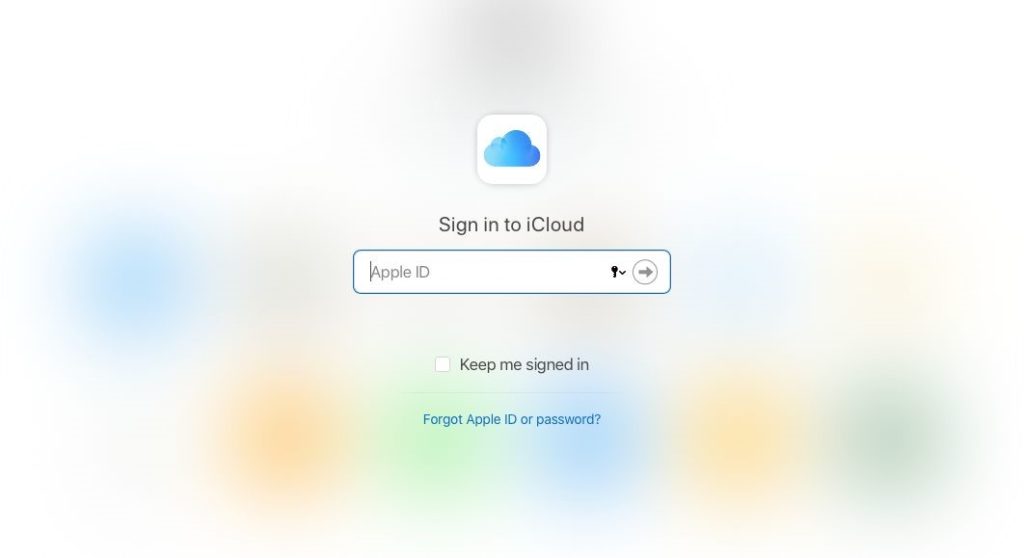
Step 4. Configure to store files on iCloud to make more room on your Mac. You can choose to upload your favorite and recent photos and documents on the iCloud storage to access them from any device with the same Apple ID. This will free up space on your Mac storage for new files.
Step 5. Access the Trash settings and enable the option to automatically clear files after 30 days. Go to the Settings window and select Advanced Settings. Put a check on the ‘“Remove items from the Trash after 30 days” option and save settings.
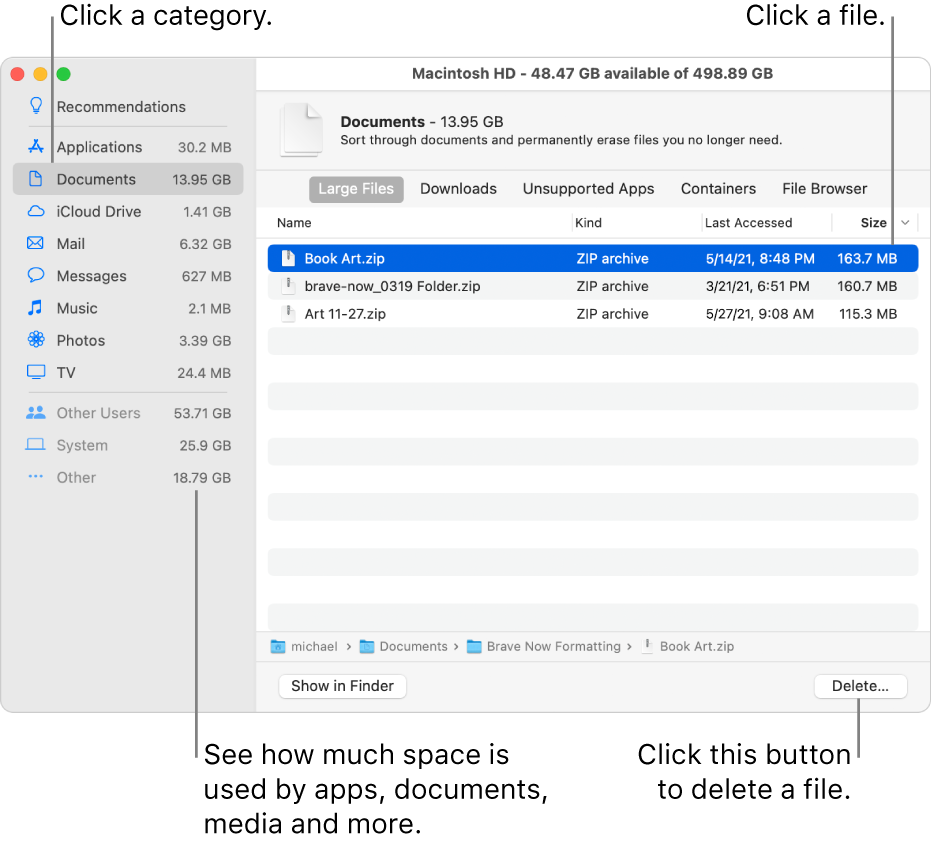
Step 6. Once you are on the Storage Management window, click on the “Review Files” button to explore a detailed breakdown of the storage usage on your Mac. You can find, select and delete large files, old files, downloads, cache files, and other duplicate files on your Mac storage.
Other Steps to Free Up Space on Mac
A few more steps can make more room on your Mac storage. Try these steps to instantly free up space on your Mac storage.
Delete Unwanted Files
Delete Large Files – Once you are in File Explorer, click on the Large Files button to scan and list out all the large files. Click on the size column to sort them by largest to smallest. Select multiple unwanted files and hit the Delete key to send them to the Trash Bin.
Check Downloads Folder – Your downloads folder may be full of clutter, app setup files, videos, movies, and more. Go to the “Downloads” folder in Finder and delete files that you no longer need.

Empty Trash Bin – Whatever you are deleting to free up space is getting accumulated in the Trash Bin. Ensure you go to the Trash folder and click on the “Empty Trash” option to permanently delete all the deleted files from Trash.
Uninstall Unwanted Applications
There are different ways to delete unwanted applications from your Mac. You can follow any of these steps to uninstall applications on Mac.
Step 1. Go to the Finder app and select the “Applications” folder.
Step 2. Identify applications you no longer use.
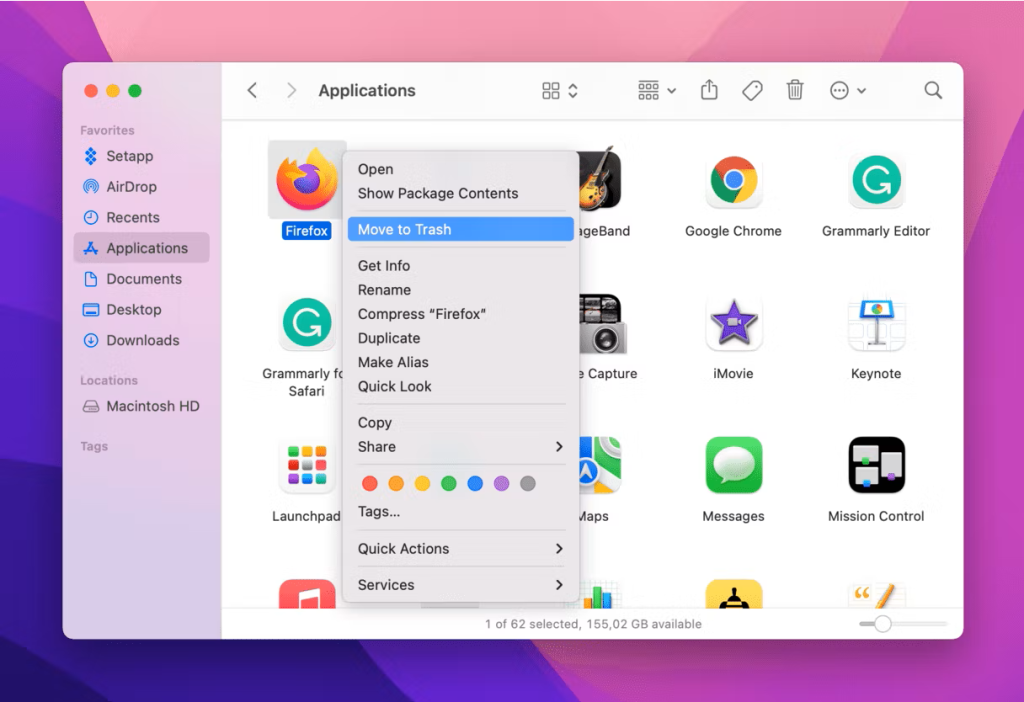
Step 3. Right-click on the App icon and click on the ‘Move to Trash’ option.
Alternatively, you can also drag and drop the app icon into the Trash. Remember to empty the Trash Bin once you have uninstalled the applications.
Clear Cache and Temp Files
Uninstalling apps will not remove the cache and temp files associated with the apps. You can follow these steps to get rid of these files.
Step 1. Press the (Shift + Command + G) keys on Finder to access Go to Folder.
Step 2. In the “Go to Folder” window, type ~/Library/Caches and hit the Enter key.
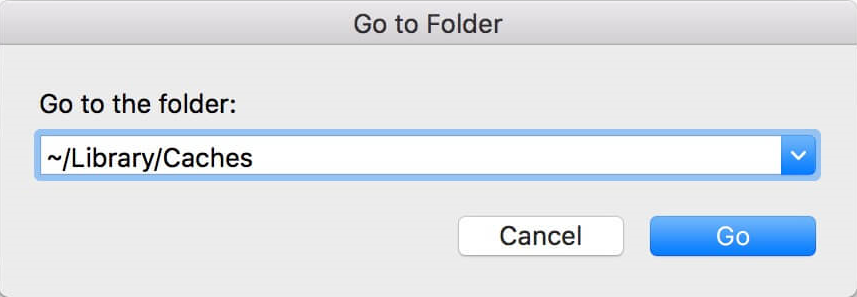
Step 3. Delete the files from uninstalled app subfolders in the “Caches” folder.
Step 4. Navigate to the /Library/Logs and /Library/TemporaryItems folders and remove unnecessary log files and temporary files. This step will also help you Fix the System Run Out of Application Memory issue.
Move Files to External Storage

If you have additional large files that you don’t want to delete, consider moving them to external storage. connect the external storage drive to your Mac and move files from Mac storage to the external drive. This is the smartest way to check storage space on Mac and make room for upcoming files.
Final Words
This article on how to check storage on Mac has the best tips and tricks to check storage space on Mac. you will also explore how to manage storage space on Mac using the inbuilt utilities. These steps will help you find storage on your Mac, delete large files, uninstall applications, and clear cache files. you will be able to free up storage space on your Mac and make room for upcoming files.

")
