

Mac devices are well known for their reliability and efficiency. However, its functionality may get affected when the system storage is messed up with junk. Your Mac may get filled in with unwanted files due to many reasons. Temp files, cache files, browsing history, and duplicate files are some types of trash files that can affect the functionality of your Mac.
Out of all the unnecessary files that can influence your system, duplicate files can occupy a considerable amount of space on the Mac storage. This makes it significant to find and remove duplicate files on a regular basis. In this regard, this post can guide in actively identifying and removing duplicate files on Mac. You can try manual methods if you have enough time to dive deep into all the folders and subfolders else you can use the automated method.
Why are Duplicate Files Created?
In most cases, duplicate files are produced due to manual errors. Sometimes, you may download the same files multiple times, or copy a file twice or thrice to create a duplicate item. These similar files are of no purpose and should be cleared off immediately.
How to Find Duplicate Files on Mac?
Similar files are space-consuming unnecessary files which are of no use. To improve system performance, you must learn how to get rid of them. Your Mac device’s utility can help you in this regard. You may also use a dedicated Duplicate File Finder tool for removing multiple files of the same content.
Using Finder Utility
Finder in the Mac system will help you to locate and organize your files. This utility can access and organize all types of storage and identify similar files.
Step 1: Locate and execute the Finder utility.
Step 2: Access the File option and choose the “New Smart Folder” option.
Step 3: Enable the searching options by pressing the “+” button.
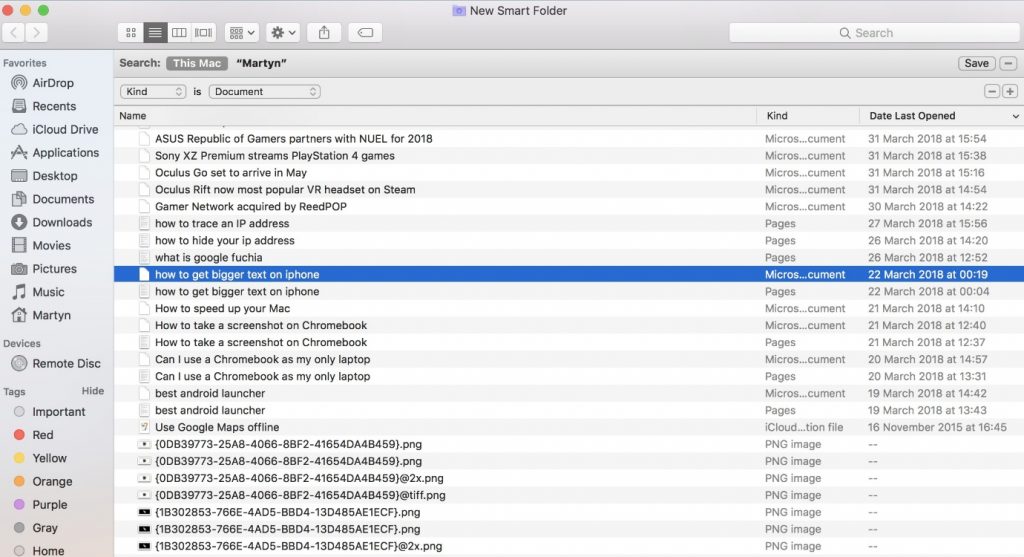
Step 4: Search for the type of duplicate you want to find.
Step 5: Sort the search results according to the name.

Step 6: Find the duplicate files, and select and remove them.
Using Mac Terminal
Mac terminal can help you in accessing your operating system with text commands. This OS program can help you find duplicate files on your Mac.
Step 1: Access the utility option in the Applications folder.
Step 2: Locate and select the Mac Terminal option from the list.
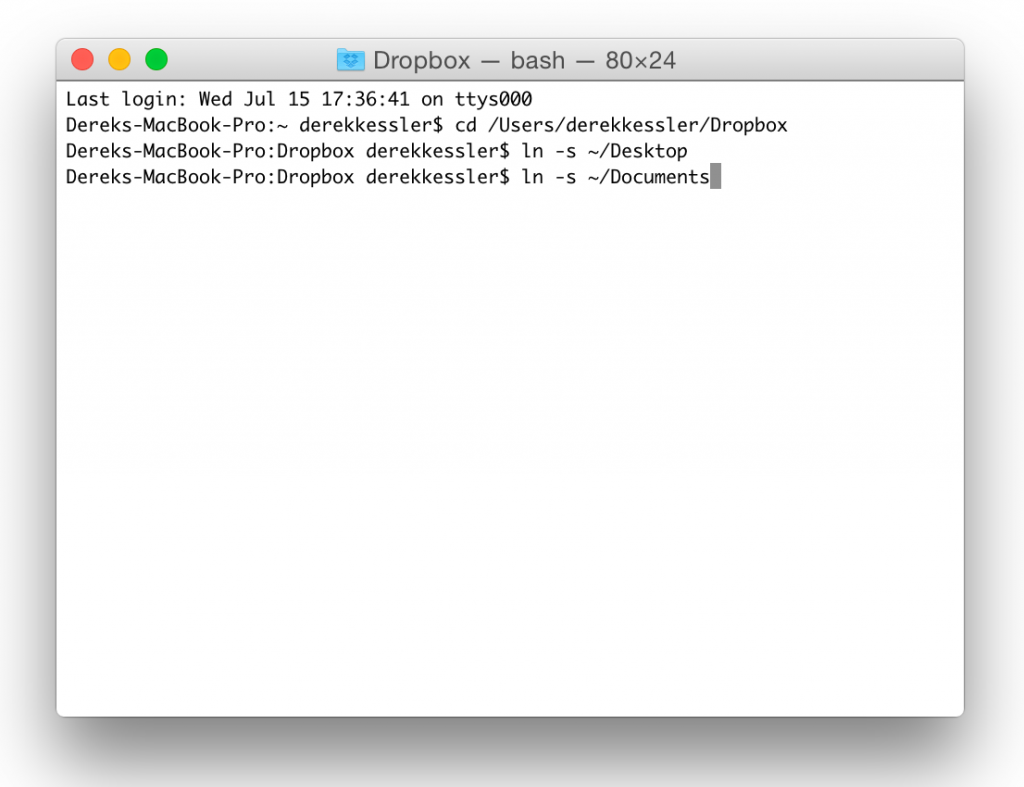
Step 3: Choose the directory you wish to check for duplicates.
Step 4: Input cd ~/ ”Folder Name” and hit the Return key.
Step 5: As the folder is opened input “find ./ -type f -exec md5 {} \; | awk -F ‘=’ ‘{print $2 “\t” $1}’ | sort | tee duplicates.txt”.
Step 6: A text file will be created in the selected folder. It will contain information about the duplicate files.
Using Duplicate File Finder for Mac
So far, we have discussed the manual methods for removing duplicate files on Mac devices. These steps are effective yet require more time and manual work. You can’t attain accuracy in removing 100% duplicate files using manual methods. To identify and clear duplicate files on your Mac, you can rely upon a dedicated tool like Duplicate File Fixer. It can preserve your valuable time and can offer excellent efficiency.
Duplicate File Fixer
Duplicate File Fixer is the best-in-class tool that can accurately remove all your duplicate files. The software is capable of comparing files by names and their content and identifying similar files on your Mac. You can enable the scan mode easily and the total interface of the app is very user-friendly. It has great compatibility with MacOS 10.8+ and all the latest MacOS versions.
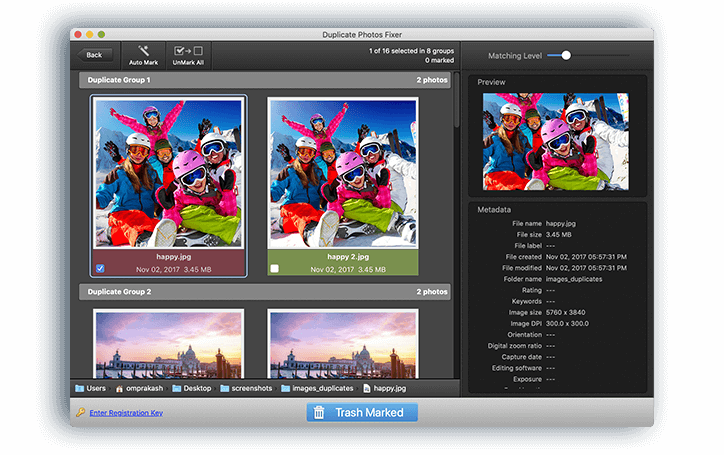
You can scan all the internal and external storage space including cloud storage like Google Drive. You can quickly scan and remove duplicate files, documents, videos, photos, music files and other file types on your Mac. you can preview and manually select duplicate files or auto-mark all found duplicates just with a single click.
Duplicate Files Fixer Features
- Can scan and identify all types of duplicate files
- Simply and easy to use console for easy scanning
- Capable to clear out more of your device space
- Can preview the content of the file in scan results
- Capable of selecting duplicate files automatically
How to Use Duplicate Files Fixer?
You can locate and clear all the duplicate and similar files of all types available on your Mac device with the following procedure.
Step 1: Download and install the duplicate file fixer tool from the source website or Mac App store.
Step 2: Access the software and activate the product to enable premium features.
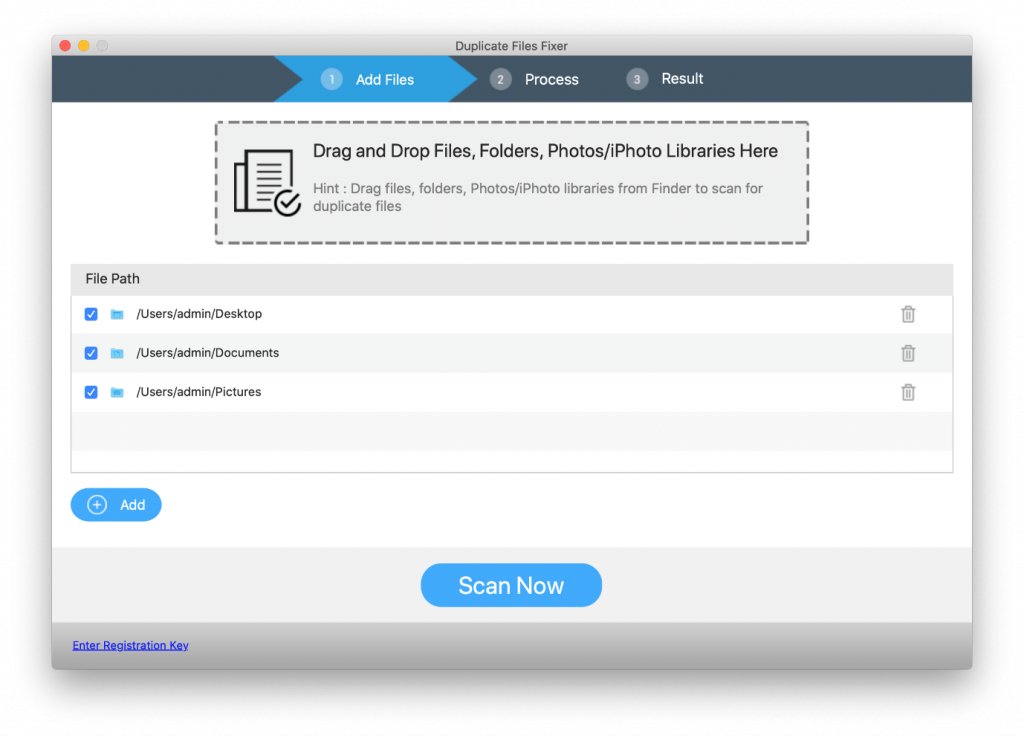
Step 3: Select your scan mode and the drive. You can select the Finder to scan your Mac drive.
Step 4: Select the “Scan Now” Option to initiate the scanning.
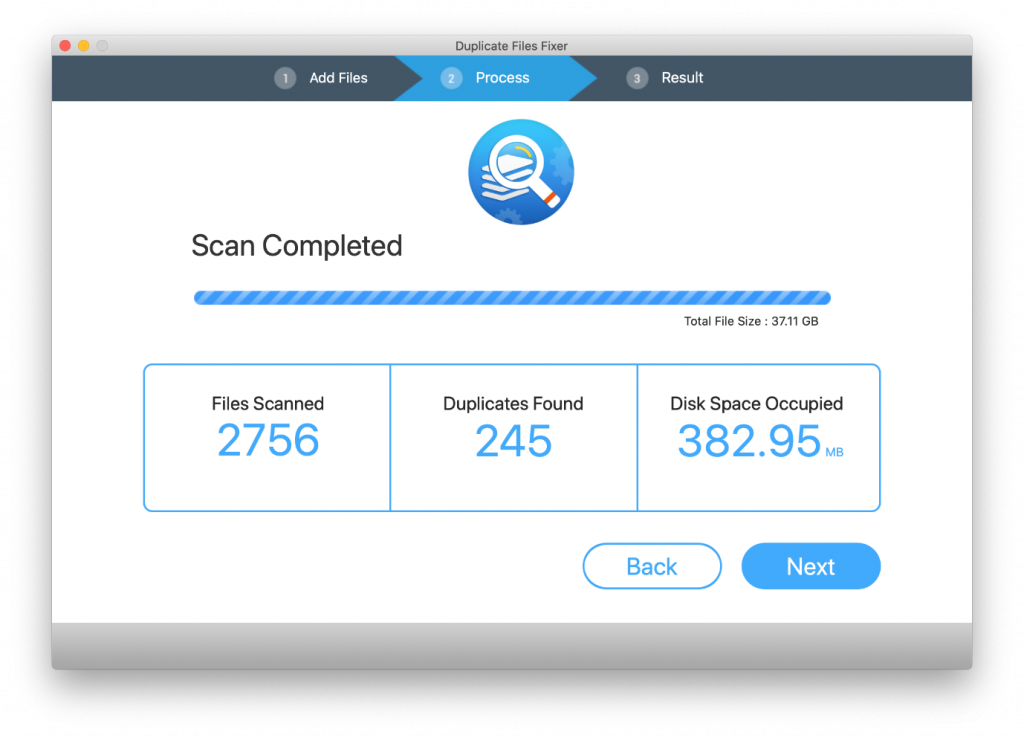
Step 5: Interpret the scan results and identify the duplicate files.
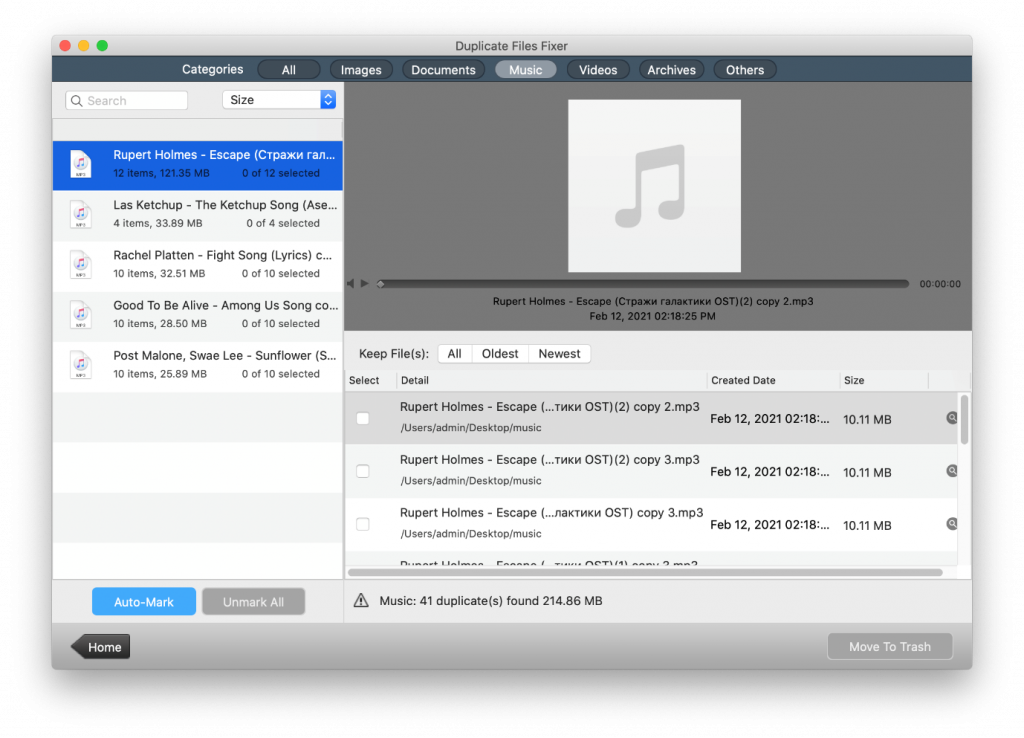
Step 6: Select the duplicate files and delete them.
Bottom Line
The availability of duplicate files is a worth-worrying problem on your Mac. You can identify and delete files from your Mac device by manual method or a third-party tool. You can choose and use the tweaks that are suitable for you with the technical insights given in this post.


